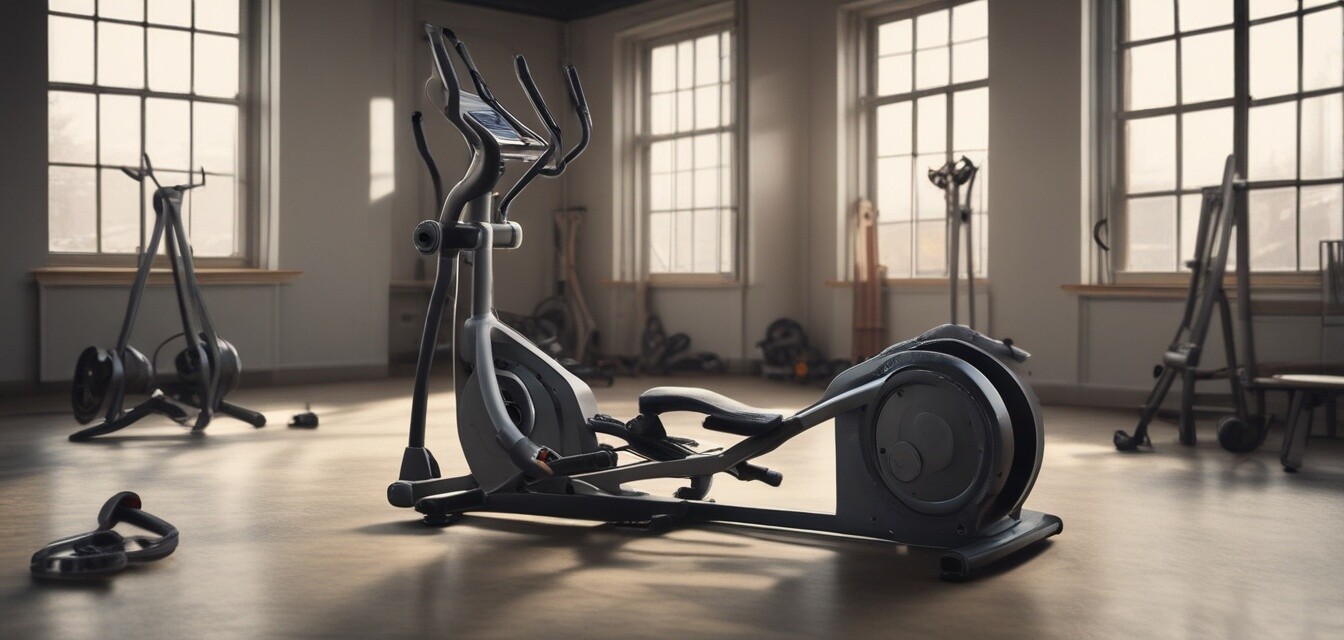
How to Safely Move Your Elliptical to a New Location
Key Takeaways
- Preparation is essential: Gather all necessary tools and materials.
- Disassemble carefully: Follow a step-by-step approach to avoid damage.
- Transport safely: Use appropriate equipment to move your elliptical.
- Reassembly tips: Familiarize yourself with the assembly process at your new location.
- Regular maintenance checks can ensure longevity after moving.
Moving your elliptical to a new location can seem daunting, but with the right approach, it can be done safely and efficiently. This guide will walk you through each step of the process, ensuring that your machine remains undamaged while you transition to your new setup. Follow these detailed instructions and enjoy setting up your workout space without added stress!
Step 1: Gather Necessary Tools and Supplies
Before you begin moving your elliptical, gather all the required tools and supplies to make the process smoother. Here’s a checklist:
- Wrench set
- Phillips and flathead screwdrivers
- Moving blankets or padding
- Tape and labels
- Hand truck or dolly
Step 2: Prepare Your Space
Clear the area around your elliptical machine. Make sure there are no obstructions that can hinder the disassembly and moving process.
Step 3: Disassemble Your Elliptical
Carefully disassemble your elliptical to make it easier to transport. Here are the steps to follow:
- Unplug the machine: Ensure the elliptical is turned off and unplugged to avoid any accidents.
- Remove removable parts: Take off the pedals, arms, and other detachable components. Keep them together and label them for ease of reassembly.
- Secure the frame: Use packing tape or bungee cords to secure any loose parts on the frame to prevent them from moving during transport.
- Disassemble the main body: Using your wrench or screwdriver, carefully detach the frame. Be sure to keep all screws and bolts in a labeled bag.
Step 4: Move the Elliptical Safely
With the elliptical disassembled, it's time to move the parts. Here’s how to do it safely:
- Wrap components in moving blankets to protect them.
- Use a hand truck or dolly to support heavier items, keeping them off the ground.
- Lift with your legs, not your back, to avoid strain.
- Team up with a friend if you are moving larger pieces to balance the load.
Step 5: Transport to the New Location
During transport, be sure to secure the elliptical pieces in your vehicle to prevent any shifting. Make a plan for how you will unload the components at the new location.
Step 6: Reassemble Your Elliptical
Reassembling your elliptical at the new location can be a straightforward process if you follow these tips:
- Refer to your labels: Use the labels from your disassembly process to match parts correctly.
- Follow the manual: If you have the manual, refer back to it for reassurance on assembly.
- Check connections: Once reassembled, ensure all bolts are tightened properly.
- Test the machine: Before using, test your machine to make sure everything operates smoothly.
Maintenance After Moving
After relocating your elliptical, perform a basic maintenance check:
- Inspect moving parts for any looseness or damage.
- Lubricate parts if necessary to ensure smooth operation.
- Check for any squeaks or sounds that weren't present before moving.
Additional Resources
For more tips on maintenance, check out our Maintenance Tips category. You might find useful information on how to keep your elliptical in great shape after the move.
Pros
- Proper moving can extend the life of your elliptical.
- A well-maintained machine can provide better workouts post-move.
- Disassembly simplifies the moving process and reduces risk.
Cons
- Disassembling requires tools and some technical know-how.
- Heavy components might still need assistance to move.
- Improper handling can lead to damage during transport.
Conclusion
Moving your elliptical can be a stress-free process if planned and executed correctly. Following these steps not only helps you safeguard your equipment but also sets up a smooth transition to your new workout space. Don't forget to check out more of our maintenance tips for ongoing care!